
Peptides often come in a lyophilized (freeze-dried) form to maintain stability and prolong shelf life, needing reconstitution before use. Reconstituting peptides is a critical step that involves dissolving the lyophilized powder into a suitable solvent, thereby preparing it for application.
This process must be carried out with precision to ensure the peptide’s composition and effectiveness are maintained. In this guide, we’ll explore how to reconstitute peptides, including selecting the appropriate solvent, determining the correct concentration, and handling techniques to maximize the peptide’s potential in your experiments or treatments.
How to Store Peptides?
Due to their biochemical composition, peptides can be sensitive to environmental factors such as temperature, light, and moisture.
Initial Handling
Upon receiving lyophilized (freeze-dried) peptides, allowing the vial to warm to room temperature before opening is essential. This precaution helps prevent condensation from forming inside the vial, which could introduce moisture and potentially degrade the peptide.
Short-Term Storage
For short-term storage of a few days to weeks, peptides in their lyophilized form can generally be stored at room temperature, away from direct sunlight and heat sources. Ensure the vial is sealed tightly to avoid exposure to air and moisture.
Long-Term Storage
For periods extending beyond four weeks, it’s recommended to store peptides at temperatures below -20°C or, ideally, at -80°C. Freezing peptides in their lyophilized form helps preserve their structure and biological activity over months or even years. However, minimizing freeze-thaw cycles is important as these can lead to degradation. If you need to use the peptide multiple times, consider aliquoting it into smaller portions before freezing.
How to Store Peptides after Reconstitution?
If you have reconstituted your peptide in solution, the stability will depend on the peptide’s sequence, concentration, and the solvent used. Generally, peptide solutions should not be stored for more than a few days. To extend their shelf life, freeze the solutions and store them at -20°C or -80°C, but be aware that not all peptides tolerate freezing and thawing well. Always refer to specific guidelines for your peptide if available.
Avoiding Contamination
Make sure to use carefully sealed containers when storing peptides, whether in lyophilized form or solution. Avoid repeated exposure to air and moisture by keeping the storage time outside the freezer or refrigerator to a minimum. Dedicated, clearly labeled plastic containers or satchels can help protect the vials from physical damage and contamination.
How to Reconstitute Peptides and Why Is It Necessary?
Reconstituting peptides is fundamental in preparing them for research or therapeutic use. This process involves dissolving the lyophilized (freeze-dried) peptide in a solvent, turning it into a liquid form that can be accurately measured and administered.
Why Reconstitution Is Necessary
Lyophilized peptides are stable and have a long shelf life, making them ideal for storage and shipping. However, they cannot be accurately dosed for experiments or treatments in this form. Reconstitution transforms the peptide into a usable form, allowing for precise measurement and application.
Steps to Reconstitute Peptides
Selecting the Right Solvent
The choice of solvent depends on the peptide’s solubility. Sterile distilled water is commonly used for peptides that easily dissolve in water. For peptides with limited water solubility, solvents like acetonitrile (ACN), dimethyl sulfoxide (DMSO), or bacteriostatic water (BW) may be necessary.
Preparing the Vial
Before adding the solvent, allow the lyophilized peptide vial to reach room temperature to prevent condensation from forming inside the vial.
Adding Solvent
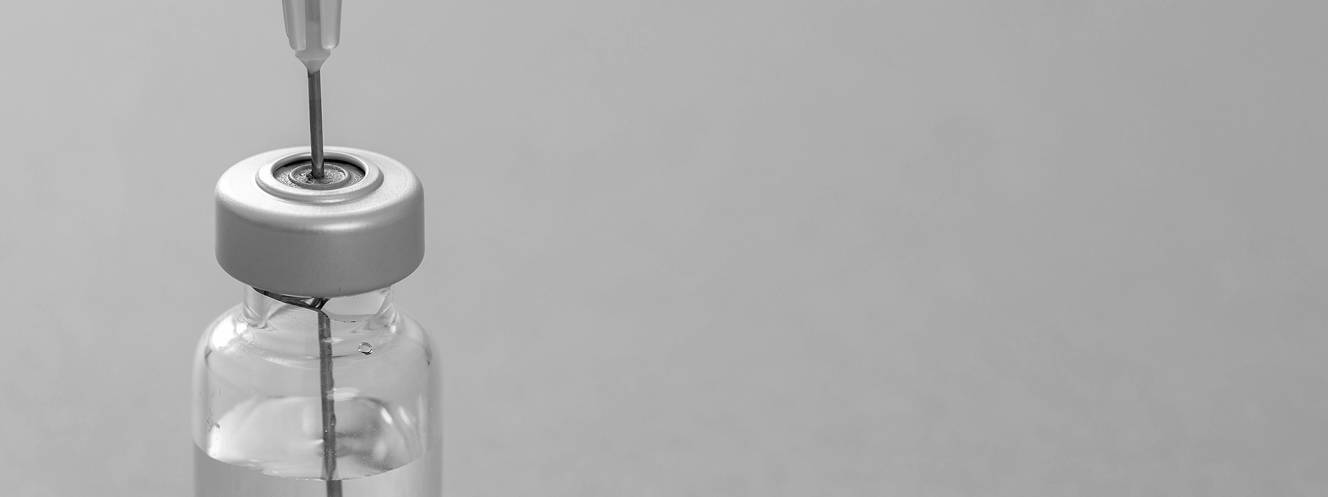
Gently inject air into the peptide vial to balance the pressure, which will ease the addition of the solvent. Then, slowly add the solvent by letting it run down the side of the vial rather than directly onto the peptide powder. This method helps prevent material loss from splashing or sticking to the vial cap.
Mixing
Allow the vial to sit for 15-30 minutes at room temperature. If necessary, gently swirl or tap the vial to aid dissolution. Avoid vigorous shaking, as this can lead to foaming or denaturation of the peptide.
Storage Post-Reconstitution
Once reconstituted, peptides should be stored at 36 to 46 degrees F (2 to 8 degrees C) if not used immediately. It’s important to note that different peptides have varying stability profiles in solution, so usage within a short period post-reconstitution is generally recommended.
Additional Considerations
Some peptides may require specific solvents for initial dissolution before being diluted to the desired concentration with another solvent, like sterile water or PBS buffer. The initial solvent often helps in dissolving peptides with poor water solubility.
Bacteriostatic Water Vs. Sterile Water
The distinction between bacteriostatic water and sterile water is essential in medical practices, particularly when reconstituting medications for injection or conducting laboratory experiments. Both types of water are purified and intended for medical use, but they serve different purposes and have unique properties.
Bacteriostatic Water
Bacteriostatic water contains a bacteriostat, typically benzyl alcohol, which inhibits the growth of bacteria within the vial. This addition makes bacteriostatic water suitable for multiple uses from the same vial, as the bacteriostatic agent helps to maintain sterility over time. It is commonly used for diluting or dissolving medications for injections administered in multiple doses over time. However, due to the presence of benzyl alcohol, bacteriostatic water is not recommended for use in neonatal medications because of the potential toxicity of benzyl alcohol to infants.
Sterile Water
Sterile water, on the other hand, is simply water that has been purified and sterilized to remove any microbes and is free of any additives, including bacteriostats. Its primary use is for single-dose applications, such as mixing a single dose of medication for immediate use. Once a vial of sterile water is opened and accessed, it cannot be stored for future use because it lacks preservatives to prevent the growth of bacteria. Sterile water is also used for irrigating wounds and as a diluent for preparing non-neonatal intravenous medications. Unlike bacteriostatic water, sterile water can be used without the concern of introducing a bacteriostatic agent into the body, making it safer for certain patient populations, including neonates.
Choosing Between Bacteriostatic Water and Sterile Water
The choice between bacteriostatic and sterile water depends on the specific medical application. Bacteriostatic water is generally preferred for substances that will be used multiple times, such as hormones or peptides, because its content prevents microbial growth, extending the usable life of the solution once it has been opened. Sterile water is the choice for single-use applications and situations where introducing a bacteriostatic agent might be contraindicated.
Peptide Dosages
For example, if you have a 12mg peptide vial and wish to create a solution where 1 ml equals 2mg of the peptide, you will add 6 ml of bacteriostatic water to the vial. This allows for easy calculation of doses.
It’s important to add the bacteriostatic water slowly and to avoid shaking the vial vigorously, which could damage the peptide. Gentle swirling or letting the vial sit in the refrigerator for a couple of hours can help ensure the peptide is fully dissolved.
Calculating Dosages
Once the peptide is reconstituted, calculating the correct dosage is the next step. Dosage can vary widely based on the peptide, its purpose, and individual factors such as body weight and health condition.
A common approach is to use a peptide dosage calculator, which can provide guidance based on the reconstituted solution’s concentration. For instance, if your target dose is 300 mcg and your solution concentration is 2 mg/ml, you would need to administer 0.15ml of the solution.
How to Properly Perform a Subcutaneous Injection?
A subcutaneous injection involves several steps to ensure the process is safe, sterile, and effective.
Prepare Your Materials
Gather all the necessary supplies, including the peptide vial or prefilled syringe, alcohol wipes, and, if necessary, a new, sterile syringe and needle (for vials). Ensure you have a sharps disposal container for used needles and syringes.
Wash Your Hands
Thoroughly wash your hands with soap and water to minimize the risk of infection. This is one of the most crucial steps in preventing contamination and infection.
Select and Prepare the Injection Site
Choose an appropriate site for the injection. Common sites for subcutaneous injections include the upper arms, thighs, abdomen, and lower back. Avoid areas where the skin is irritated, bruised, or scarred. Clean the chosen area with an alcohol wipe and let it air dry.
Prepare the Peptide
If using a vial:
- Remove the cap and clean the rubber stopper with an alcohol wipe.
- Use a sterile syringe and needle to draw air into the syringe equal to your dose.
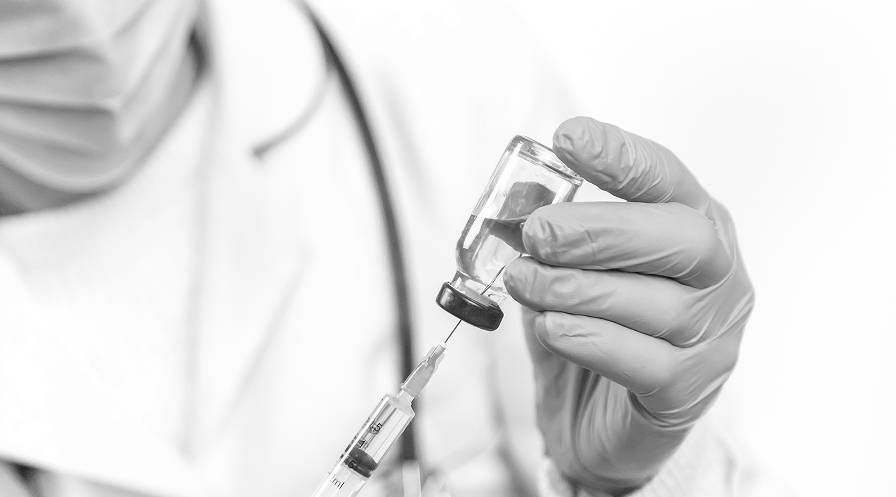
- Insert the needle through the rubber stopper, push the air into the vial (to prevent a vacuum), invert the vial, then draw the prescribed amount of peptide.
If using a prefilled syringe:
- Check the peptide label to ensure it’s correct.
- Remove the cap or covering, being careful not to touch the needle.
- Inject the Peptide
- Pinch a fold of skin between your thumb and index finger at the prepared site.
- Hold the syringe like a pencil or dart at a 90-degree angle to the skin (if you can grasp 2 inches) or at a 45-degree angle (if you can grasp only 1 inch of skin).
- Insert the needle with a quick, controlled motion.
- Push the plunger slowly to inject the peptide.
- Wait a few seconds, then remove the needle and release the skin.
Dispose of the Needle and Syringe
Immediately place the used needle and syringe into a sharps disposal container. Never reuse needles or syringes; do not dispose of them in household trash.
Post-Injection Care
If necessary, apply gentle pressure to the injection site with a clean cotton ball or gauze. If bleeding occurs, cover with a bandage. Do not rub the injection site, as it might cause irritation.
Types of Needles for Subcutaneous Injections
When selecting a needle for a subcutaneous injection, several factors must be considered to ensure the procedure is both effective and minimally uncomfortable.
Needle Gauge
The gauge of a needle refers to its diameter. For subcutaneous injections, a finer needle is often preferred to minimize discomfort. Needles ranging from 25 gauge to 30 gauge are commonly used for these injections. A higher gauge number indicates a thinner needle.
Needle Length
The length of the needle is also important. Shorter needles are generally used for subcutaneous injections administered into the fatty layer beneath the skin. The typical needle length for these injections ranges from 4mm to 8mm. This ensures the medication is delivered to the appropriate tissue layer.